漸變疊加:混合模式“疊加”,然後選擇我們之前載入的漸變色,如下圖。

<圖16>
圖案疊加:混合模式“正常”,圖案選擇我們之前定義的圖案,其它設置如下圖。

<圖17>
描邊:大小2像素,位置“外部”,填充類型選擇“漸變”,然後選擇我們之前載入的漸變色,其它設置如下圖。

<圖18>
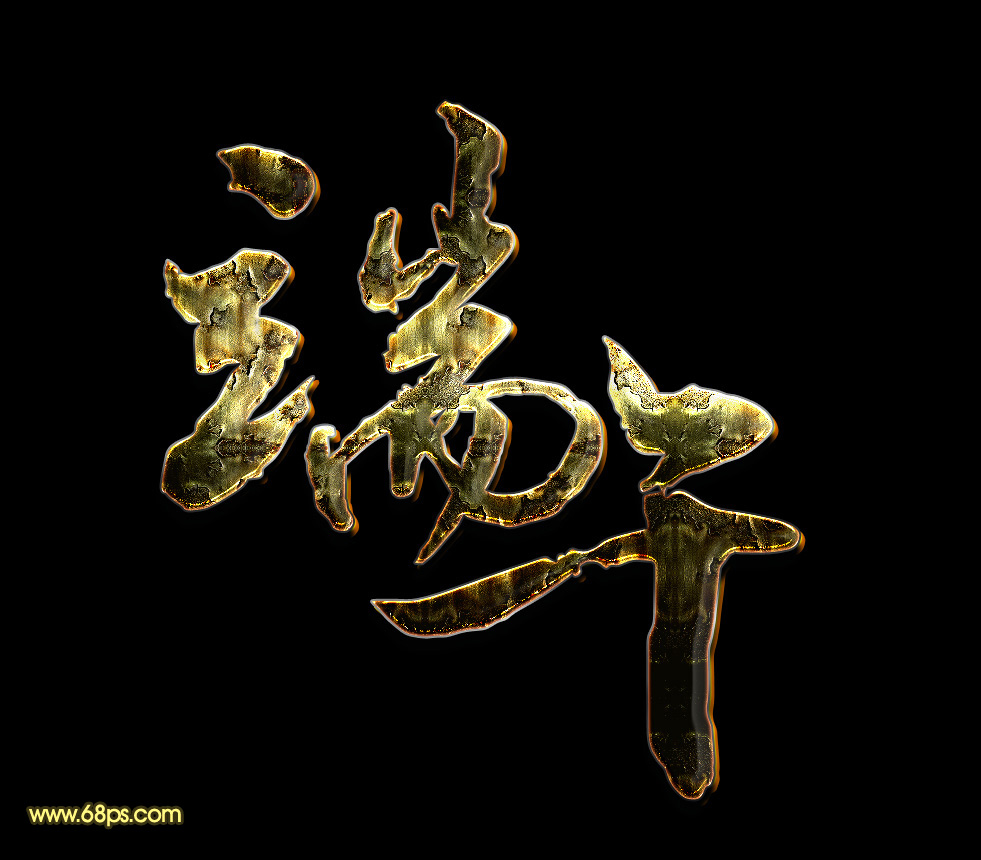
6、確定後得到下圖所示的效果。

<圖19>
7、按Ctrl + J 把當前文字圖層複製一層,同上的方法清除圖層樣式,效果如圖21。

<圖20>

<圖21>
8、給當前圖層設置圖層樣式。
投影:混合模式“正片疊底”,顏色為:#161616,其它設置如下圖。

<圖22>
內陰影:混合模式“線性減淡”,顏色為白色,其它設置如下圖。

<圖23>
斜面和浮雕:

<圖24>
9、確定後把填充改為:0%,效果如下圖。

<圖25>
10、按Ctrl + J 把當前文字圖層複製一層,然後清除圖層樣式,效果如下圖。

<圖26>
11、給當前文字圖層添加圖層樣式。
斜面和浮雕:設置如下圖,然後點擊光澤等高線圖標編輯曲線,參數設置如圖28。

<圖27>

<圖28>
等高線:

<圖29>

<圖30>
12、確定後把填充改為:0%,效果如下圖。

<圖31>
最後微調一下參數,完成最終效果。

<點小圖查看大圖>
标签:鏽跡文字
推薦設計

優秀海報設計精選集(8)海報設計2022-09-23

充滿自然光線!32平米精致裝修設計2022-08-14

親愛的圖書館 | VERSE雜誌版版式設計2022-07-11

生活,就該這麼愛!2022天海報設計2022-06-02
最新文章

5個保姆級PS摳圖教程,解photoshop教程2023-02-24

合同和試卷模糊,PS如何讓photoshop教程2023-02-14

PS極坐標的妙用photoshop教程2022-06-21

PS給數碼照片提取線稿photoshop教程2022-02-13


