氣泡看上去挺簡單,不過高光與暗部的構成是比較複雜的。首先高光顏色不能太白,在橢圓的中間,邊緣等加上淡淡的淡白色,局部可以增加一些白色作為最亮點;暗部區域比較少,製作方法跟高光一樣。
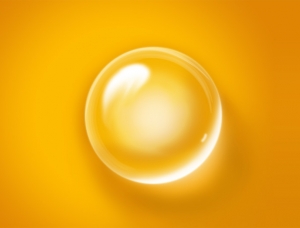
最終效果

<點圖片查看大圖>
1、打開PS軟件,按Ctrl + N 新建畫布,尺寸為1920 * 1080像素,分辨率為72像素/英寸,如下圖。

2、把前景色設置為藍灰色#a4b0b5,然後用油漆桶工具把背景填充前景色。


3、先來製作氣泡的高光部分,需要完成的效果如下圖。

4、新建一個組,命名為“高光”。

5、在工具箱選擇“橢圓選框工具”,羽化設置為0像素。

6、用橢圓選框工具拉出下圖所示的橢圓選區。

7、點擊圖層面板下面的蒙版按鈕,添加蒙版,如下圖。

8、設置高光顏色,高光統一用下面的顏色,不是純白。把前景色設置為淡灰色#f3f3f5。

9、在組裏新建一個空白圖層,用油漆桶工具填充前景色。

10、按住Ctrl鍵 + 鼠標左鍵點擊當前組的蒙版縮略圖載入選區。

11、選擇菜單:選擇 > 修改 > 收縮,數值為5。


12、按Shift + F6 把選區羽化8個像素。

13、按Delete鍵兩次,刪除選區部分色塊,按Ctrl + D 取消選區,再把圖層不透明度改為50%,如下圖。

14、新建一個圖層,用橢圓選框工具拉出下圖所示的選區。

15、用油漆桶工具把選區填充前景色,按Ctrl + D 取消選區,效果如下圖。

16、用橢圓選框工具拉出下圖所示的選區,並把選區羽化10個像素。

17、按Delete鍵兩次,刪除選區部分色塊,取消選區後效果如下圖。

18、新建一個空白圖層,用鋼筆工具勾出下圖所示的選區,羽化5個像素後填充前景色。

19、取消選區後添加圖層蒙版,選擇畫筆工具,畫筆不透明度設置為10%,前景色設置為黑色。

20、用畫筆把高光兩端過渡塗抹自然,如下圖。


21、新建一個圖層,用鋼筆工具勾出下圖所示的選區,羽化2個像素後填充前景色,取消選區後把混合模式改為“濾色”。


22、新建一個圖層,用橢圓選框工具拉出下圖所示的選區,羽化40個像素後填充前景色,然後取消選區。

23、添加圖層蒙版用剛才設置為畫筆擦掉一些不需要的部分,效果如下圖。
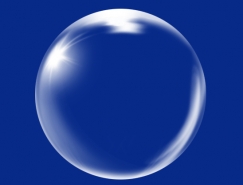

标签:氣泡

推薦設計

優秀海報設計精選集(8)海報設計2022-09-23

充滿自然光線!32平米精致裝修設計2022-08-14

親愛的圖書館 | VERSE雜誌版版式設計2022-07-11

生活,就該這麼愛!2022天海報設計2022-06-02


最新文章

5個保姆級PS摳圖教程,解photoshop教程2023-02-24

合同和試卷模糊,PS如何讓photoshop教程2023-02-14

PS極坐標的妙用photoshop教程2022-06-21

PS給數碼照片提取線稿photoshop教程2022-02-13


